本文共 2534 字,大约阅读时间需要 8 分钟。
前端打包工具有webpack、grunt、gulp等,这里主要介绍webpack.
一、webpack的基本能力:处理依赖、模块化、打包
1、依赖管理:方便引用第三方模块,让模块更容易复用、避免全局注入导致的冲突、、避免重复加载或者加载不必要的模块
2、合并代码:把各个分散的模块集中打包成大文件,减少HTTP的链接的请求次数,配合uglify.js可以减少、优化代码的体积
3、各种插件:babel把ES6+转化为ES5-,eslint可以检查编译时的各种错误
二、webpack的工作原理
简单的说就是分析代码,找到“require”、“exports”、“define”等关键词,并替换成对应模块的引用。
在一个配置文件中,指明对某些文件进行编译、压缩、组合等任务。把你的项目当成一个整体,通过一个给定的主文件 (index.js),webpack将从这个文件开始找到你的项目的所有的依赖文件,使用loaders处理他们,最后打包为一个浏览器可
以识别的js文件。
在没有使用webpack之前:
举个例子:index.html里面有一大堆的css和js文件,如a.js b.js c.js等等
(1)a.js要用到b.js里面的饿一个函数,则a.js要放在b.js后面
(2)c.js要用到a.js里面的一个函数,则c.js要放在a.js后面
(3)b.js又要用到某个js文件里面的函数,则b.js就要放在其后面
如果有N多个js文件,需要手动处理他们的关系,即容易出错。
使用webpack:
webpack的理念就是一切皆模块化,把一堆的css文件和js文件放在一个总的入口文件,通过require引入,剩下的事情webpack会处理,包括所有模块的前后依赖关系,打包、压缩、合并成一个js文件,公共代码抽离成一个js文件、某些自己指定的js单独打包,模块可以是css/js/imsge/font等等。
三、使用场景
1、根据模板生成HTML,并自动处理上面的css/js引用路径
2、自动处理<img>里面的图片路径,css里面背景图的路径,字体引用
3、开启本地服务器,一边改写代码,一边自动更新页面内容
4、编译jsx es6 sass less coffescript等,并添加md5、sourcemap等辅助
5、异步加载内容,不需要时不加载到DOM
6、配合vue.js react.js等框架开发
四、使用webpack打包项目的操作流程
准备条件:安装好npm和webpack
node.js:,下载完之后安装,安装完之后在cmd面板输入 node -v 出现版本号说明安装成功,输入 npm -v出 现版本号说明自带的npm也安装成功。
webpack:使用npm全局安装webpack,在cmd面板输入 npm install -g webpack
使用npm在项目中安装webpack,在项目路径下,在cmd面板中输入 npm install webpack --save-dev
( --save-dev表示开发时候依赖的东西, --save是开发之后还依赖的东西 )
下面详细介绍打包的整个过程:
1、在cmd中,执行npm init(目录是 D:\php_Study\WWW\webpack),如图所示
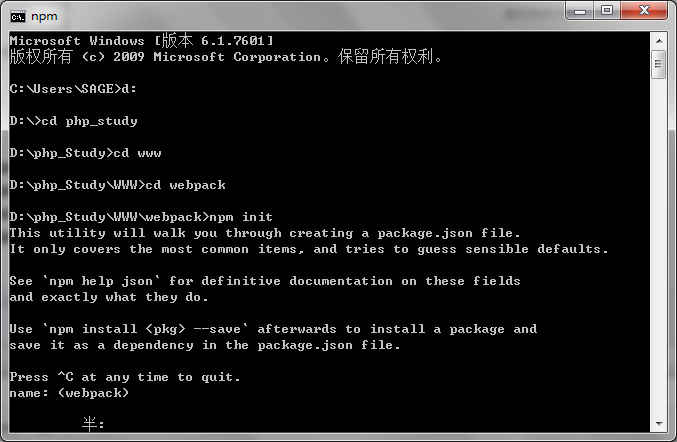
如果没有需要修改的话可以一直按下enter键,直到出现yes/no,输入yes按下enter键,就会在文件夹webpack下生成配置文件package.json。如果要修改的话可以自己定义:
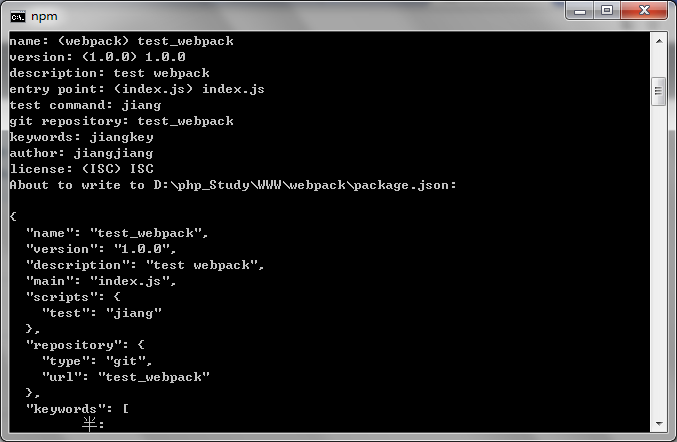
name:项目名称
version:项目版本号
description:对这个项目的描述,或者描述使用webpack的那些功能
entry point:入口文件名
test command:测试时候的命令
git repository:git上面的仓库名
keywords:关键词
author:作者名字
license:许可证
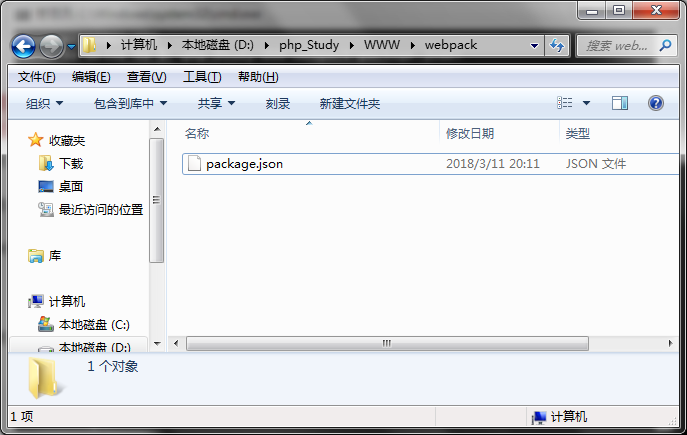
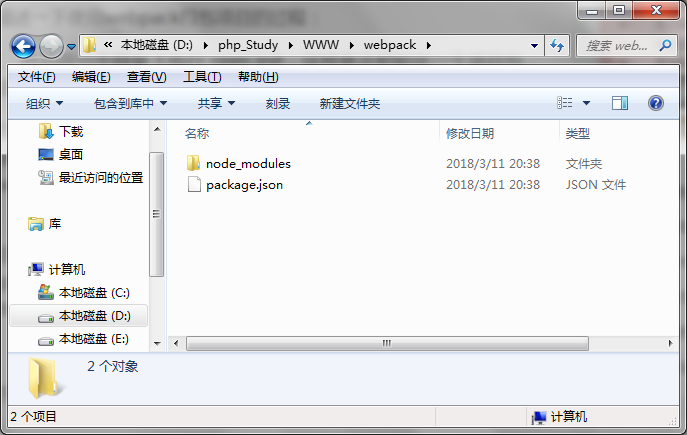
这一步完成之后,在webpack文件夹下的内容为:
2、将webpack安装在项目里面,即和package.json统计目录
在cmd里面输入:npm install webpack --save-dev
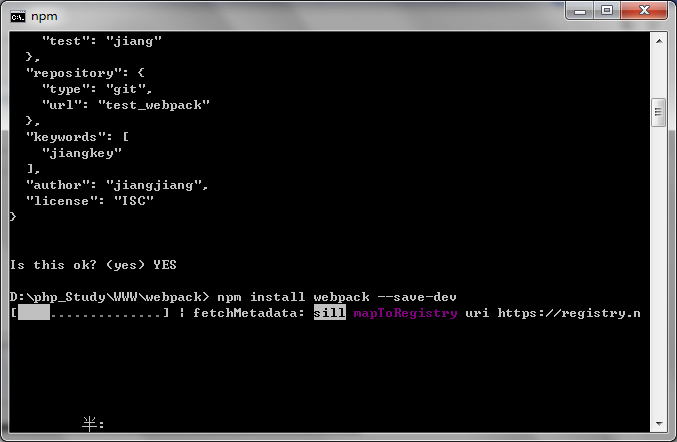
这里会等待一段时间如下图所示
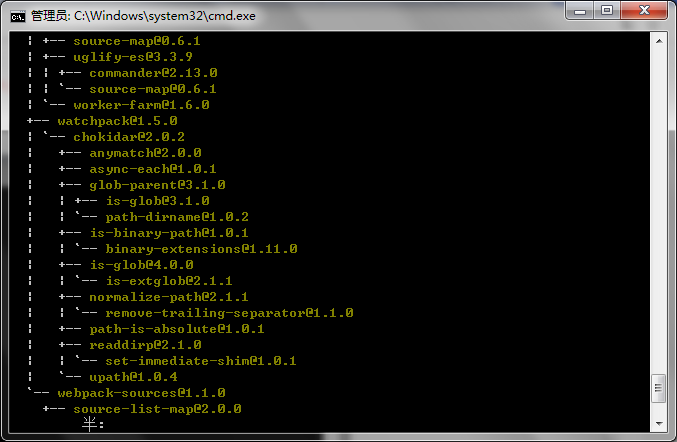
安装完之后在根目录下会多出node_modules文件夹,然后就可以写自己的东西了。
3、在webpack文件下建立文件夹app、public,在文件夹app下新建两个文件test.js和index.js(入口文件),在public文件夹下新建index.html文件,这样就完成项目的基本雏形
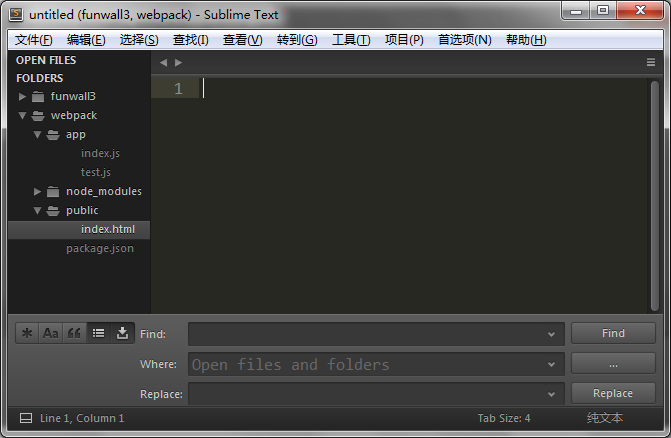
4、在index.html里面输入下面内容
test webpack
5、在test.js里面写上内容如下
// test.jsmodule.exports = function(){ var test = document.createElement('div'); test.textContent = 'here,we are test webpack!'; return test;}; 6、在index.js里面将test.js的方法引进来
// index.js// 将创建的div元素加进去index.html里面的id=root的元素里面,作为子元素var test = require('./test.js');document.getElementById('root').appendChild( test() ); 7、下面就可以使用webpack工具进行打包了。在项目根目录下(webpack文件夹下)执行命令:
node_modules/.bin/webpack app/index.js public/bundle.js
解释:app/index.js 表示项目的入口文件,也就是package.json中的“main”属性对应的值
public/bundle.js表示打包后的文件命名为bundle.js,存放在public文件夹下
但是打包的时候出现下面的问题:
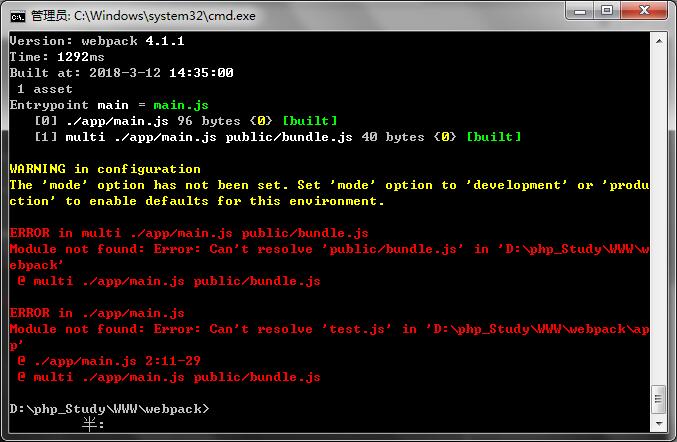
此问题咱未解决..............